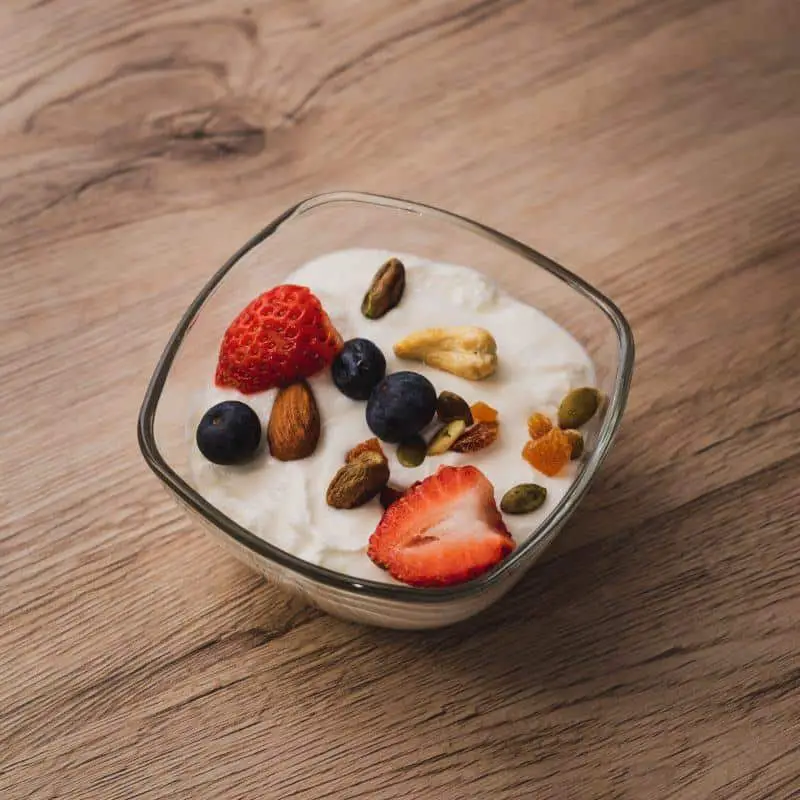
You will hardly find anyone who doesn’t like yogurt. It’s one of the most commonly liked products among people of all age groups. For most people, their earliest memory includes eating a jar of yogurt right out of the refrigerator. With the advent of technology in food processes, even making yogurt has undergone a lot of transformation.

Most types of yogurt available in the market are heat treated. This means that the yogurt does not contain the live cultures that make it healthy. Yogurt, at the time of manufacturing, contains live cultures that lend it a healthy twist.
The presence of these cultures ensures that the yogurt contains essential nutrients, proteins, and vitamins that are necessary for the body. Live culture yogurt also helps in strengthening the immune system.
When yogurt is heat-treated, these live cultures get damaged. Thus, most yogurt aficionados have taken to making yogurt at home itself to ensure that all ingredients used to make yogurt are natural and the process is followed as per the proper guidelines.
In such a scenario, it can be confusing to decide how much quantity needs to be input with respect to milk, starter and the temperature at which the milk needs to be cultured. The main question where most people get stuck at is how much yogurt starter to use.
Different people recommend different amounts of starter based on the process they follow. Therefore, it’s hard to know one standard quantity. Yet, it’s a fairly simple thing to decode. Let’s take a look at the series of steps to make yogurt and understand how much yogurt starter to use in the process along with the process to choose other ingredients.
Table of Contents
Milk
Milk forms the very foundation of yogurt. You can make yogurt from any type of milk, including skimmed and whole. Whole milk is preferred since it results in a creamier and thicker yogurt with slightly lesser tanginess.

If you choose low-fat-milk based yogurt, while it might taste the same, it tends to turn out a little less creamy and dense. It can get runny, but you can always add extra thickener to it to make it thicker.
For people a bit finicky about using non-dairy products, you can also use soy milk, however, the process of making yogurt might differ a bit in that case.
How to Choose a Starter
Remember the live cultures we talked about at the beginning of the article? A starter is what contains these live active cultures that ferment the milk into yogurt. When you are making yogurt at home, you can either buy plain yogurt from the market to work as a starter or you can buy yogurt starter powder.
In case you are buying plain yogurt, make sure to check that it has live cultures and is not one of those heat-treated yogurts that contain no live cultures. Also, it has to be devoid of all flavors and any added condiments.
If you are buying a yogurt starter, that works better since they include live bacterial cultures that are uniformly spread and act consistently when put in yogurt. However, these are not that easy to find.
Now, how much yogurt starter to use? The healthy live culture containing starter, Bacillus Bulgaricus starters, are extremely strong. Therefore, they don’t need to be used in a lot of quantity. Still, it can be confusing to determine how much yogurt starter needs to be used. Let’s take a look at some numbers:
If you are making two liters of yogurt, you only need to use about 3 grams of yogurt starter. To make it clearer, 2 grams of starter means one-third of a teaspoon. If you are making about four liters of yogurt (because who doesn’t like to make yogurt in bulk!), you need about 3 grams of yogurt starter. Again, to make it clearer, this is about half a teaspoon of yogurt starter.
If you want to go beyond that even, say, eight liters of yogurt, you need about 4 grams of yogurt starter. This means that you need a full teaspoon of yogurt starter to put in the yogurt for fermentation.
Either way, there is a minimum quantity that you should keep in mind while making yogurt. To make yogurt, the minimum quantity of yogurt starter that you need is one-fourth of a teaspoon. This is good if you are making a small batch and only need about one liter of yogurt to be made.
This minimum quantity is also important if you want the yogurt to actually contain the healthy nutrients that the yogurt starter includes. If you use any less than one-fourth of a teaspoon, your yogurt might not be able to catch all the live cultures that are present in the yogurt starter.
Incubator
The last step (if you don’t want any flavors and additives) to prepare yogurt is to incubate it for several hours. Incubation means keeping the mixture stable at a specific temperature for a specific number of hours. During this time, it’s important to keep the mixture still and the temperature needs to be maintained exactly at the recommended temperature.

The key to remember here is that you don’t need a fancy device to incubate the mixture. You can do that in a thermos, a microwave or even a cooker. The main thing is to keep the temperature constant and there are easy homely ways to even ensure that.
The ideal time to incubate is five to six hours. But you can also keep it overnight to ensure that the mixture sets. The minimum duration is five hours and after that, the time duration depends on how thick you want the yogurt to be.
The longer you set the mixture for, the creamier and thicker the final product turns out. Longer hours of incubation also means that the taste of yogurt will turn out to be tangier.
Conclusion
As you can see above, it’s not a difficult process to make yogurt at home. You only need to take care of a few technical aspects and you can easily make a delicious batch for weeks to last. Do remember, even though it’s homemade yogurt, there is an expiry date to it, and the more flavors you add, the lesser the shelf life will be.
Resources:
Cultures for Health
Greatist
The Salt
