A yogurt starter culture contains live bacteria that convert milk into yogurt. The bacteria feed on the lactose and convert it into lactic acid. This ferments the milk, making it thicker and giving it that tart flavor associated with yogurt. Every starter culture has its own blend of bacteria which gives the yogurt a specific taste and texture.
Starter cultures can be procured by saving a small amount of store-bought yogurt and adding it to milk. However, these are often considered single-use cultures and the yogurt created from it may not be suitable to create a new batch. Heirloom cultures, on the other hand, are carefully curated bacterial blends that have been handed down for generations and can be used indefinitely.
Table of Contents
7 Ways To Make Yogurt Without Starter Culture
While heirloom culture powders are widely available, you should try out the recipes below if you’re truly interested in making yogurt from scratch. They use natural ingredients like chilies, lemon juice and chickpeas that you can buy at any supermarket. They’re quick, easy and definitely something you can boast to your friends about.
1. The Traditional Indian Way
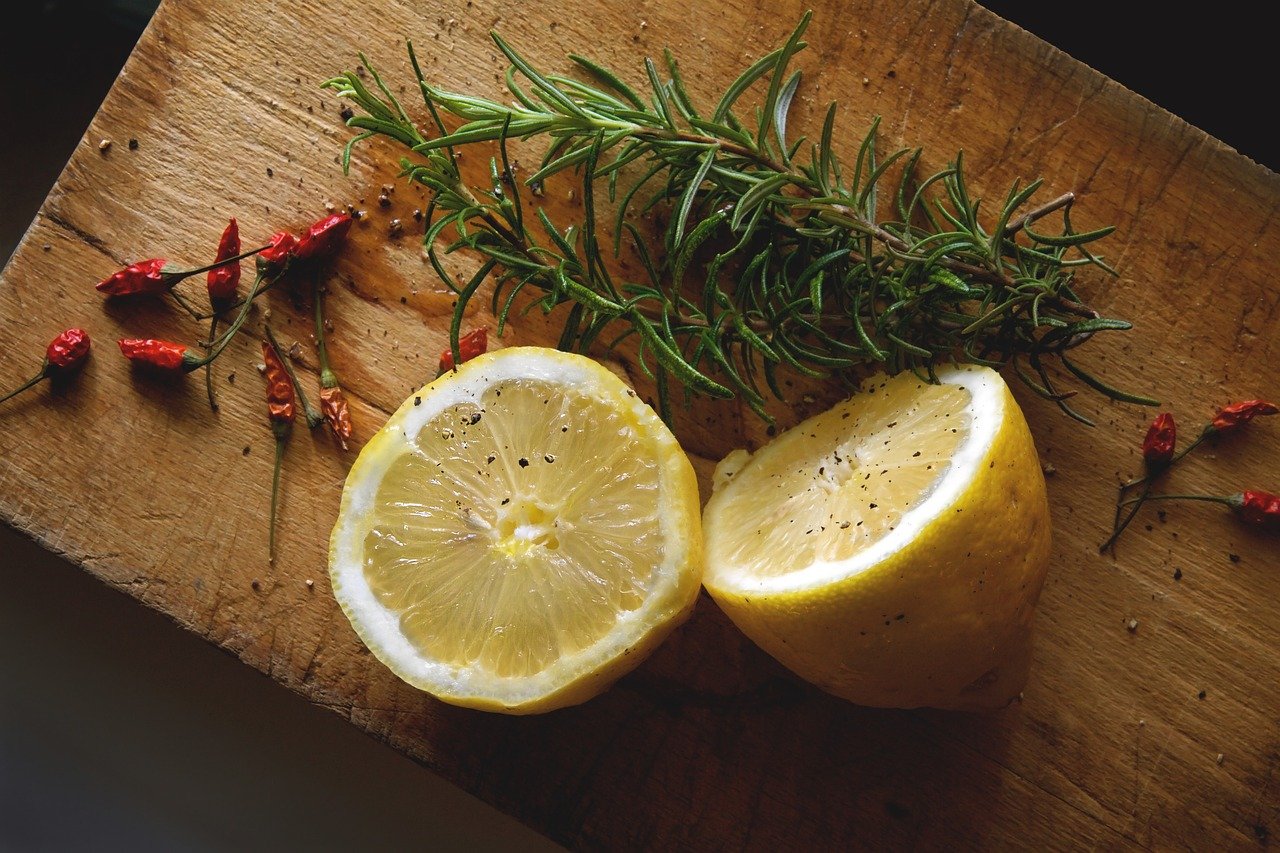
This is a traditional Indian recipe where the starter culture is referred to as jaman. You can make three different sets of jaman using green chilies, red chilies, and lemon.

Ingredients
Steps
Part 1: Making the Starter Culture or Jaman
- 1Bring 4 cups of milk to a boil and set it aside to cool.
- 2Squeeze the lemon juice into a bowl.
- 3Once the milk is warm, pour equal quantities into 3 different containers.
- 4Pour the lemon juice into one container of milk.
- 5Take the 2 green chilies with stalks intact and place them in the other container. Do the same with the red chilies in a separate container.
- 6Place a lid on all three containers and keep them in a warm place for 10-12 hours.
- 7After 10-12 hours your starter culture should be ready.
Part 2: Making the Yogurt
- 1Bring 4 cups of milk to boil. Once it has cooled down, pour equal amounts into 3 different bowls.
- 2Add 2 tsp of the starter culture made with lemon juice to one of the bowls. Repeat with the other starter cultures. Make sure you only add one kind of starter culture to each bowl of milk. Set the bowls aside for 6 hours.
- 3After 6 hours, the milk should have fermented to form a thick liquid.
Tips
2. The Central Asian Way
It is believed that fermented milk products were first discovered by the people living in Central Asia where the high temperatures would cause milk to clabber. Read on to find out how to make yogurt without starter culture, Turkish style.

Steps
- 1Heat the milk on the stove and bring it to a boil. Then set it aside to cool.
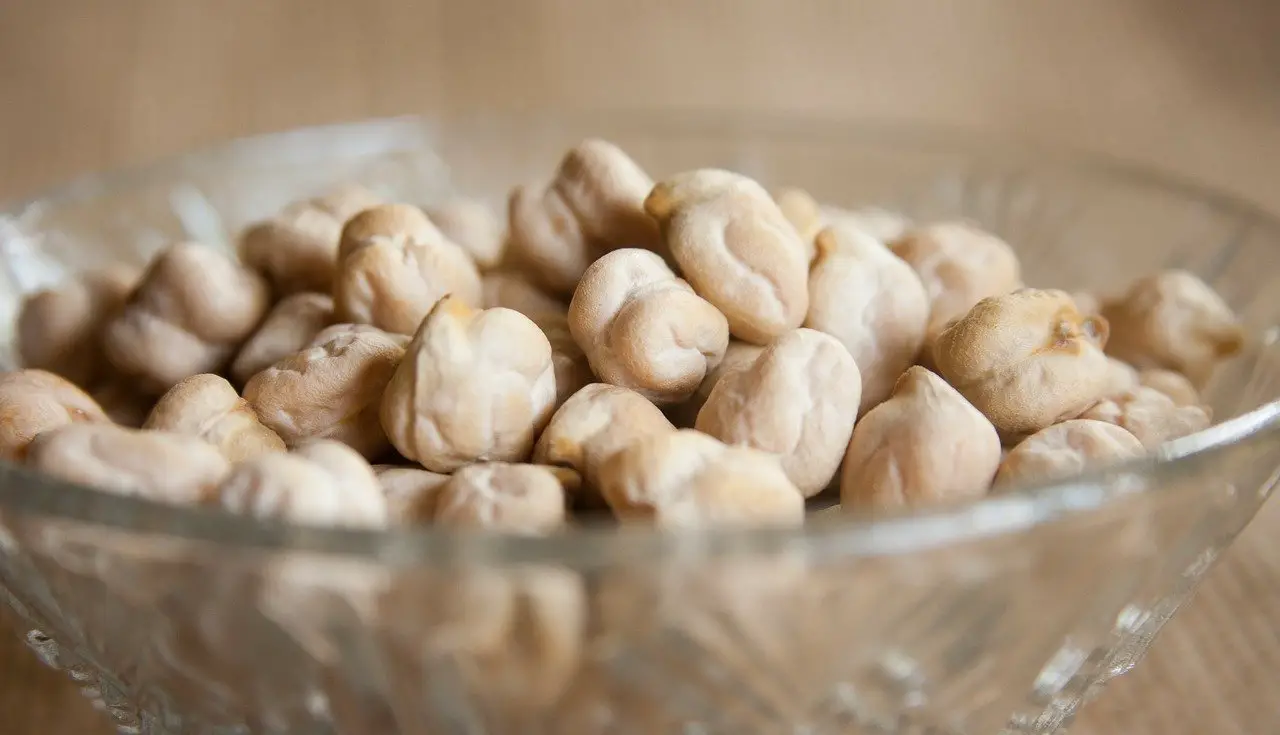
- 2Add the chickpeas to the milk.
- 3Cover the milk and let it sit overnight in a warm place.
- 4After 10-12 hours, the yogurt will be ready.
- 5You can use this as primary culture and add it to more milk or consume it directly.
3. The Lebanese Way
Bread is already fermented, so using it to create a starter culture should be a no-brainer. The Lebanese have figured out how to make yogurt without starter culture in their own unique way.
Ingredients
Steps
- 1Heat up the milk on the stove and let it cool after it has boiled.
- 2Break the inner part of a loaf of bread into tiny pieces.
- 3Sprinkle a dash of salt over the pieces of bread.
- 4Pour lemon juice over the bread.
- 5Add warm milk to this mixture.
- 6Cover with a lid and keep it in a warm place and add a little warm milk every day for 2 weeks.
- 7At the end of 2 weeks, your primary culture should be ready. You can remove the pieces of bread using a slotted spoon.
- 8Add this primary culture to more milk that has been boiled and cooled and set it aside for 10-12 hours to get creamy yogurt.
4. Using Ant Eggs or Bee Larva
This next recipe is quite unconventional and may not be everyone’s cup of tea. It’s also a little more work because it requires a yogurt maker. But if you’re experimental in the kitchen and want to know how to make yogurt without starter culture in an exotic way, you’re in the right place.
Ingredients
Steps
- 1Fill the inner bucket of the yogurt maker with half a cup of milk.
- 2Add the ant eggs, soil or bee larva. Whichever ingredient you choose, make sure you place it in cheesecloth before submerging it in the milk.
- 3Place the bucket inside the yogurt maker.
- 4Pour warm water into the outer bucket.
- 5After 5 hours, open the yogurt maker to see if the yogurt has set. If you observe a gel-like consistency, you can move ahead.
- 6Remove the cheesecloth and strain the mixture.
- 7Follow the same steps you would to make regular yogurt with the rest of the milk, but use this culture instead.
Tips
5. Using Citric Acid
If you’re tired of buying yogurt from the store, try this innovative recipe and learn how to make yogurt without starter culture and with citric acid instead. Citric acid is completely natural and widely available in a powdered form.
Ingredients
Steps
- 1Boil the milk and let it cool.
- 2Remove the skin that forms on the surface of the milk.
- 3Put 2 tbsp of warm milk into a small bowl and add the citric acid. Stir until it dissolves completely.
- 4Add this mixture into the boiled milk and stir for 2 minutes.
- 5Cover the milk with a lid and keep the container in a warm place for 12 hours.
Tips
6. Using Cardamom
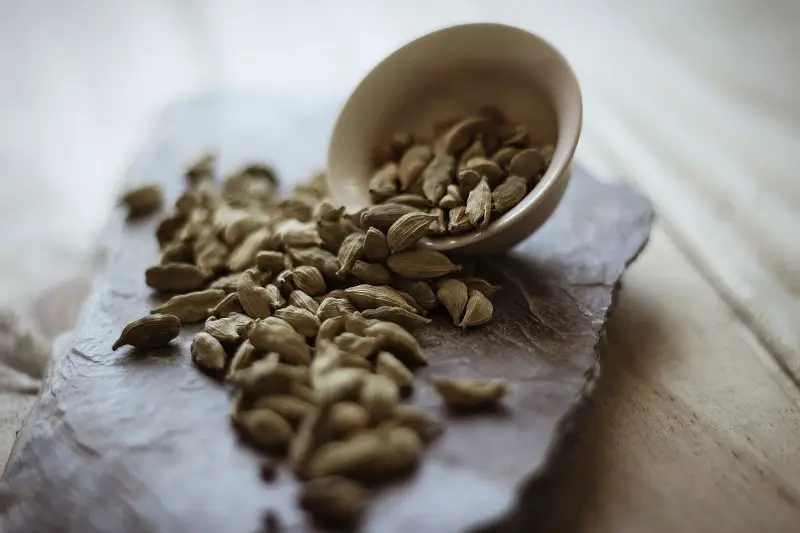
Cardamom is a spice made from plants that are native to India and Indonesia. It is widely used in Asian cuisine and also has medicinal properties. This is an incredibly simple recipe that details how to make yogurt without a starter culture bought from a store.

Ingredients
Steps
- 1Boil the milk and pour it into a container to let it cool.
- 2Add the cardamom seeds to the milk once it is warm. Make sure you submerge them completely and they are not floating on the surface.
- 3Cover the container and set it aside for 10-14 hours so that the milk can ferment.
- 4Once the milk has fermented, you can remove the cardamom seeds.
- 5Store the starter culture in the refrigerator in an airtight jar.
- 6You can add small quantities of this homemade starter culture to milk and make more yogurt as and when you please.
Tips
7. Making Clabbered Milk Instead
In the Irish language, clabber means “to thicken”. Clabbered milk isn’t exactly yogurt, but the taste, texture, and consistency are almost identical. It can be consumed directly or flavored with different ingredients. When it is refrigerated and allowed to thicken even further, it turns into clotted cream. Clabbered milk can also be used while baking to achieve a fluffier, lighter texture. The process of making it is quite simple.
Ingredients
Steps
- 1Put the raw milk in a jar and cover it with a towel or cheesecloth.
- 2Let the jar sit in a warm place for a few days. This process can take up to five days depending on the environment.
- 3Shake the jar to see if the milk has thickened.
- 4Once the milk has thickened enough, you can separate the whey from the clotted cream by running the clabbered milk through a cheesecloth.
Tips
Mistakes to Avoid While Making Homemade Yogurt
Making yogurt at home can be a very fulfilling process. If it doesn’t work the first time, don’t be discouraged. All it takes is a little extra care and attention. Follow these suggestions to make sure your yogurt is as perfect as possible:
Conclusion
Making yogurt at home is a simple, straightforward process and it saves you money too. If you’re vegan, you can substitute cow’s milk for almond milk or soy milk and achieve the same results. So what are you waiting for? Head to the kitchen and get yogurt-ing!
